

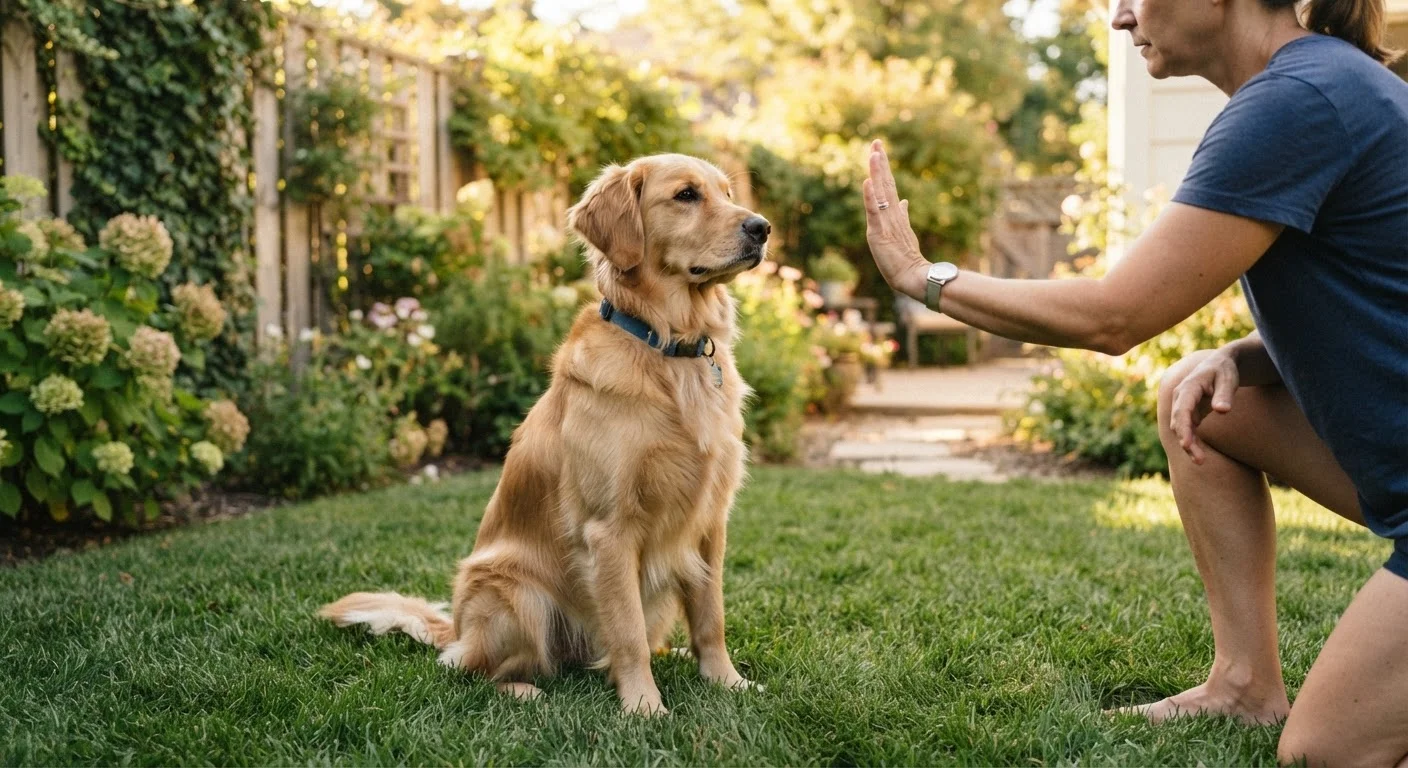
Key Takeaways
- Stay is taught in three stages: duration first, then distance, then distraction — never rush ahead.
- Each stage should be solid before introducing the next layer of challenge.
- Short, frequent training sessions produce faster, more lasting results than long infrequent ones.
- A release cue is just as important as the stay cue itself.
- Setbacks are normal — reducing difficulty temporarily is not failure, it's good training strategy.
What you will need
Why a Structured Progression Matters
"Stay" looks simple from the outside — your dog holds a position until you say otherwise. In practice, it asks your dog to resist movement despite the passage of time, your physical distance, and competing stimuli in the environment. That's a lot to ask at once, which is exactly why a structured progression works so much better than trying to teach it all in one go.
The framework trainers rely on breaks the behavior into three distinct challenges: duration (holding position over time), distance (holding while you move away), and distraction (holding while interesting things happen nearby). Attempting all three simultaneously overwhelms most dogs and leads to frustration on both ends of the leash.
Before you begin, it helps to understand how dogs process and generalize new behaviors. Our guide to how dogs learn explains the conditioning principles at work here. You'll also want to be consistent with how you signal success — see clicker training vs. verbal markers to choose the approach that suits you.
What you will need
Step-by-Step: Teaching the Stay Cue
Work through each step only when your dog is succeeding roughly 80% of the time at the current level. That threshold signals genuine understanding — not luck. Keep sessions to five or ten minutes so your dog stays engaged rather than mentally checked out.
Introduce the Position and Mark Stillness
Ask your dog to sit or lie down. The moment they settle, mark the stillness with your chosen signal and immediately deliver a treat — without asking them to hold for any duration yet. Repeat five to eight times in a single session. You're teaching your dog that being still in position is inherently rewarding.
Add Duration: Stretch the Time Before the Mark
Once your dog settles reliably, delay the marker by one or two seconds before rewarding. Gradually extend the pause — aiming for two seconds, then five, then ten — over multiple sessions. Introduce the verbal cue "stay" as your dog settles into position, just before you begin the pause. Always end with a clear release cue rather than just walking away.
Add Distance: Take a Step Back
With duration solid at around 15–20 seconds, begin introducing distance — but reset the duration challenge back to a very short hold. Take one step back, pause briefly, return to your dog, mark, and reward. Increase distance one step at a time over several sessions, returning to your dog each time to deliver the reward rather than calling them to you.
Add Distraction: Introduce Competing Stimuli
Only when duration and distance are reliable individually should you layer in distractions. Start mild — shuffle your feet, drop a low-value item nearby, move your arms. Reward generously for holding through the distraction. Gradually increase the intensity of distractions across sessions: other people moving, toys appearing, outdoor environments.
Proof the Behavior Across Contexts
A stay that only works in your living room isn't truly reliable. Practice in different rooms, then outdoors in gradually more stimulating environments. Each new location effectively resets the difficulty — expect some regression and be ready to simplify before rebuilding. Consistent reinforcement in varied contexts is what creates the generalized, real-world reliability most owners are aiming for.
The 80% Rule Keeps Progress Steady
Before adding any new challenge — more duration, greater distance, or a new distraction — confirm your dog is succeeding about 80% of the time at the current level. Moving forward before that threshold means you're building on an unstable foundation. Patience at each stage pays off with a genuinely reliable cue over time.
If your dog breaks the stay at any point, calmly reset them into position without reacting with frustration. The goal is to set the difficulty just low enough that success is the most likely outcome, then gradually raise the bar. For guidance on structuring your overall training schedule, see building a training routine that sticks.
Common Challenges and How to Address Them
Even well-progressing dogs hit plateaus. Here are the patterns that come up most often:
- Breaking early during duration work: You're likely adding seconds too quickly. Cut the duration in half and rebuild.
- Creeping forward as you move away: Your dog hasn't generalized "stay" to include distance yet. Return to one step back before re-adding multiple steps.
- Falling apart around distractions: The environment jumped too far ahead of training. Introduce lower-level distractions (rustling a bag nearby rather than another dog approaching) and build tolerance gradually.
- Inconsistent responses to the release cue: Make sure everyone in the household uses the same release word, every time. Dogs learn cues and signals as specific sound patterns, not general concepts.
Never Use Stay as a Punishment Posture
Placing your dog in a 'stay' when you're frustrated with them or using it to isolate them during conflict can undermine the positive association the cue needs to stay functional. Stay should always predict calm, reward, and eventual release — not tension or consequence.
Dogs of different ages also respond differently to this kind of training — if you're working with a very young puppy or a senior dog, training across the lifespan offers age-specific guidance to help you calibrate your expectations and approach.