

Key Takeaways
- Pre-operative preparation—including fasting and a calm environment—reduces surgical risk for your pet.
- Clear communication with your veterinarian before and after the procedure is essential.
- Post-operative monitoring focuses on wound care, restricted activity, and recognizing warning signs.
- Recovery timelines vary by procedure, species, age, and overall health status.
- Senior pets may need additional support due to slower healing and possible underlying conditions.
What you will need
Why Pre- and Post-Operative Care Matters
Veterinary surgery—whether it's a routine spay or a more complex orthopedic repair—places real demands on your pet's body. What happens before and after the procedure often matters as much as the surgery itself. Thoughtful preparation reduces anesthetic risk, and attentive home care is what allows tissue to heal properly and complications to be caught early.
Understanding your role as the caregiver doesn't require a medical background. It requires clear communication with your veterinary team, a calm environment, and consistency in following the instructions given. The steps below cover what that typically looks like across most common procedures.
Before diving in, gather your tools and confirm your setup:
What you will need
Elizabethan collar (E-collar)
Prevents your pet from licking or chewing the incision site during healing.
Digital thermometer
Used to check your pet's temperature if infection or fever is suspected post-surgery.
Written discharge instructions
Your vet's specific post-op care notes to reference at home—ask for these before leaving the clinic.
Pet-safe confinement area or crate
Limits movement during recovery to protect healing tissue and prevent re-injury.
Prescribed medications
Pain relief, antibiotics, or other treatments as directed by your veterinarian.
Non-slip mat or rugs
Helps pets with limited mobility navigate hard floors safely during recovery.
This article provides general educational information about veterinary surgical care. It is not a substitute for guidance from your veterinarian, who knows your pet's specific health history and procedure details. Always follow the instructions your veterinary team provides.
Step-by-Step: Before and After Your Pet's Surgery
Confirm the pre-operative instructions with your vet
At least a few days before the procedure, contact your veterinary team to confirm the specific pre-op requirements for your pet's surgery. Ask about fasting windows (typically 8–12 hours for food before anesthesia, though this varies), whether water is permitted overnight, and which—if any—regular medications should be given the morning of the procedure.
This is also a good time to raise any concerns about your pet's current health status. A respiratory infection, new medication, or significant behavioral change should be disclosed before surgery, as these may affect anesthesia protocols.
Prepare your home recovery space
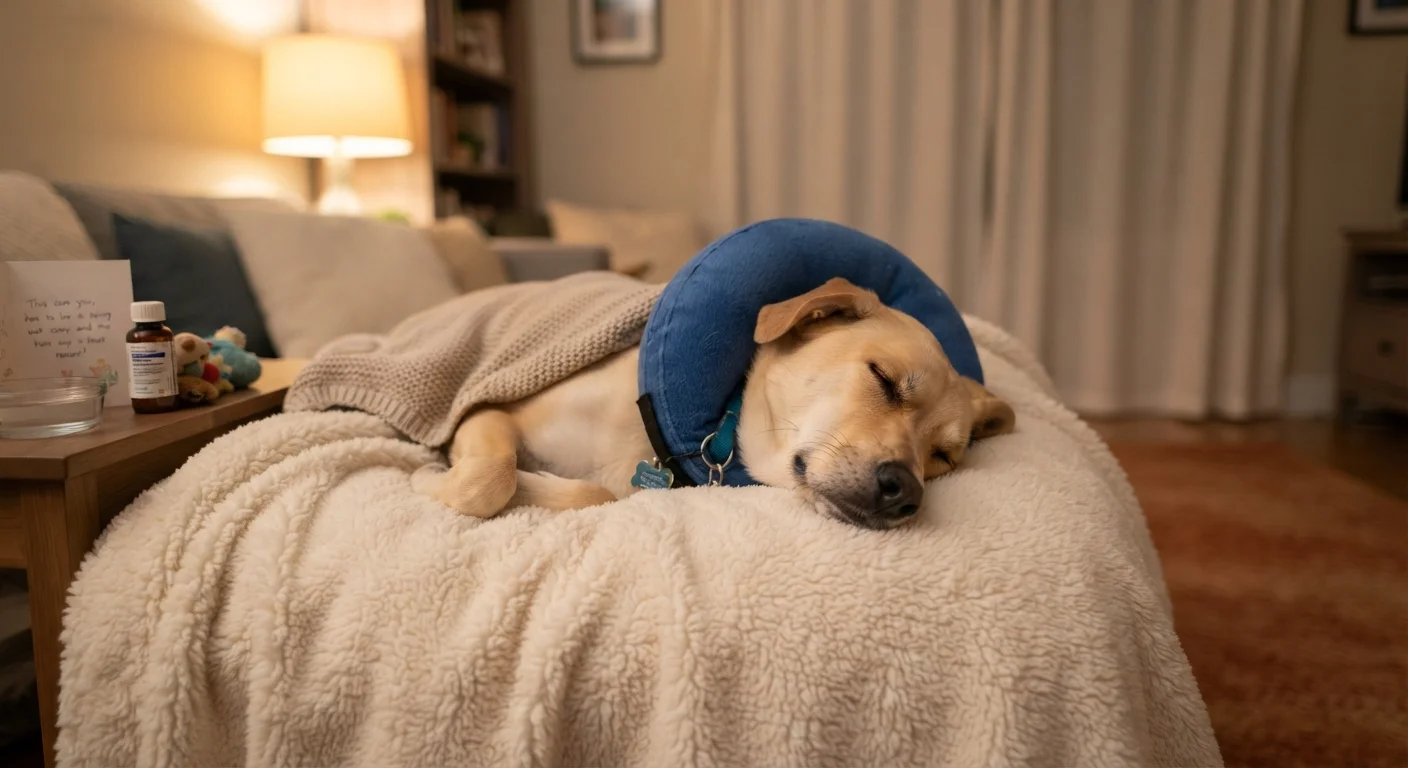
Before surgery day, set up a dedicated recovery area in your home. Choose a quiet, low-traffic room where your pet can rest undisturbed. Place a comfortable, washable bed at floor level so your pet doesn't need to jump. Keep food, water, and a litter box or outdoor access within easy reach. Remove clutter that could cause tripping.
For dogs especially, plan how you'll limit stair use and restrict access to furniture. Baby gates are practical tools during this phase. If your pet tends to be anxious in new spaces, consider placing a worn clothing item nearby to offer familiar scent.
Manage the day of surgery calmly
Animals often pick up on owner anxiety, so doing your best to remain calm during drop-off benefits your pet directly. Follow the fasting instructions strictly. Arrive on time, bring any medications or paperwork requested, and plan for the pickup timing your vet provides—post-anesthesia monitoring takes time and varies by procedure.
Before leaving the clinic at drop-off, confirm the best contact number for updates and ask approximately when you should expect a discharge call. Having a clear communication plan reduces unnecessary worry throughout the day.
Understand the discharge instructions thoroughly
When you pick up your pet, ask the veterinary team to walk you through the discharge instructions—don't just accept a printed sheet. Confirm the medication schedule, understand how to administer each drug, and ask what physical signs indicate healing versus concern. Find out exactly when the first follow-up visit should occur.
Key questions to ask before leaving: When should I restrict food and water? What does normal incision healing look like versus signs of infection? Is exercise restricted, and for how long? Can my pet use stairs?
Monitor the incision and manage activity restriction
In the first 24–72 hours, check the incision site at least twice daily for signs of swelling, redness, discharge, or separation. A small amount of bruising or mild swelling can be normal; significant discharge, foul odor, or opening of the wound requires veterinary attention promptly.
Activity restriction is one of the most critical—and most often ignored—aspects of recovery. Jumping, running, and rough play can disrupt sutures and delay healing. Use the confinement area you set up, keep dogs on a short leash for bathroom trips, and use an E-collar consistently if your pet tries to lick or bite at the site.
Attend follow-up appointments and track recovery progress
Post-operative check-ups are not optional. They allow your veterinarian to confirm that healing is progressing as expected, remove sutures at the appropriate time, and catch any complications before they escalate. Keep a brief log noting your pet's appetite, energy level, bathroom habits, and any behavioral changes each day—this information is genuinely useful at follow-up visits.
If your pet is older, keep in mind that senior animals often have slower healing trajectories and may be managing other health conditions alongside recovery. See our guide to ageing pet health needs for additional context on supporting older animals through health challenges.
When to Seek Emergency Care
Contact your veterinarian or an emergency clinic immediately if your pet shows pale or bluish gums, labored breathing, uncontrolled bleeding from the incision site, loss of consciousness, or seizures after surgery. These are not wait-and-see symptoms. Acting quickly can be life-saving.
Building a strong relationship with your vet before a procedure ever becomes necessary makes the entire process smoother. Our guide to building a relationship with your veterinarian explains how consistent communication and preventive care visits lay the groundwork for better outcomes when something more serious arises.
Prepare a Recovery Space in Advance
Set up a quiet, low-traffic area before you bring your pet home from surgery. Include a soft bed at floor level, easy access to water, and good lighting so you can inspect the incision site easily. Having everything ready reduces stress—for both of you.
If your pet is newly adopted and faces an early health procedure, the transition period itself adds an extra layer of stress. Our article on introducing a new pet without derailing their health addresses how to balance medical needs with the adjustment period.