

Key Takeaways
- Checking five key fluids — oil, coolant, brake fluid, power steering fluid, and washer fluid — takes under 10 minutes.
- Always check fluids on a level surface with the engine cold or fully warmed up, depending on the fluid type.
- Low or discolored fluid can signal a leak or mechanical issue that warrants a mechanic's inspection.
- Your owner's manual specifies the correct fluid type and acceptable level ranges for your vehicle.
- Topping up fluids yourself is straightforward, but identifying why they're consistently low matters just as much.
What you will need
Why Regular Fluid Checks Matter
Your vehicle relies on a network of fluids to lubricate moving parts, manage heat, transmit force, and maintain driver control. When any one of these drops below safe levels or degrades in quality, it creates a chain of stress on connected systems. The reassuring reality is that monitoring them doesn't require technical expertise — just a few minutes and the right approach.
This is especially valuable for new drivers building their maintenance habits, but experienced drivers benefit from a refresher too. Fluid checks are also a core part of seasonal vehicle preparation, since temperature extremes put additional demand on cooling systems and lubricants.
Before you begin, gather your tools and consult your owner's manual. The manual pinpoints exact reservoir locations and fluid specifications for your specific make and model — details that vary widely between vehicles. If you haven't used yours recently, it contains more useful maintenance answers than most drivers realize.
What you will need
Owner's manual
Identifies the correct fluid specifications, reservoir locations, and acceptable level ranges for your specific vehicle.
Lint-free rag or paper towels
Used to wipe the oil dipstick clean before taking a reading and to clean up any minor spills.
Flashlight or phone torch
Helps illuminate reservoir markings and fluid color in low-light engine bays.
Funnel
Allows precise fluid top-ups without spilling into surrounding engine components.
How to Check Each Fluid: Step-by-Step
Work through each fluid in sequence. The entire process — from opening the hood to closing it — should take under 10 minutes on a familiar vehicle. Start with engine oil, which provides the clearest picture of overall engine health, then move through coolant, brake fluid, power steering fluid (where applicable), and windshield washer fluid.
Make It a Monthly Habit
Pairing your fluid checks with a regular prompt — such as the first weekend of each month or each fuel fill-up — makes it easy to catch problems early. Consistent checks also help you notice gradual trends, like oil that's dropping faster than expected, which can surface issues before they become costly repairs.
Park safely and prepare the engine
Pull onto a flat, level surface and switch off the engine. For oil and coolant checks, let the engine sit for at least 5 minutes after switching off so fluids settle and pressure releases. Brake fluid, power steering fluid, and washer fluid can be checked immediately. Open the hood using the interior release latch, then the secondary safety catch at the front of the hood.
Check engine oil level and condition
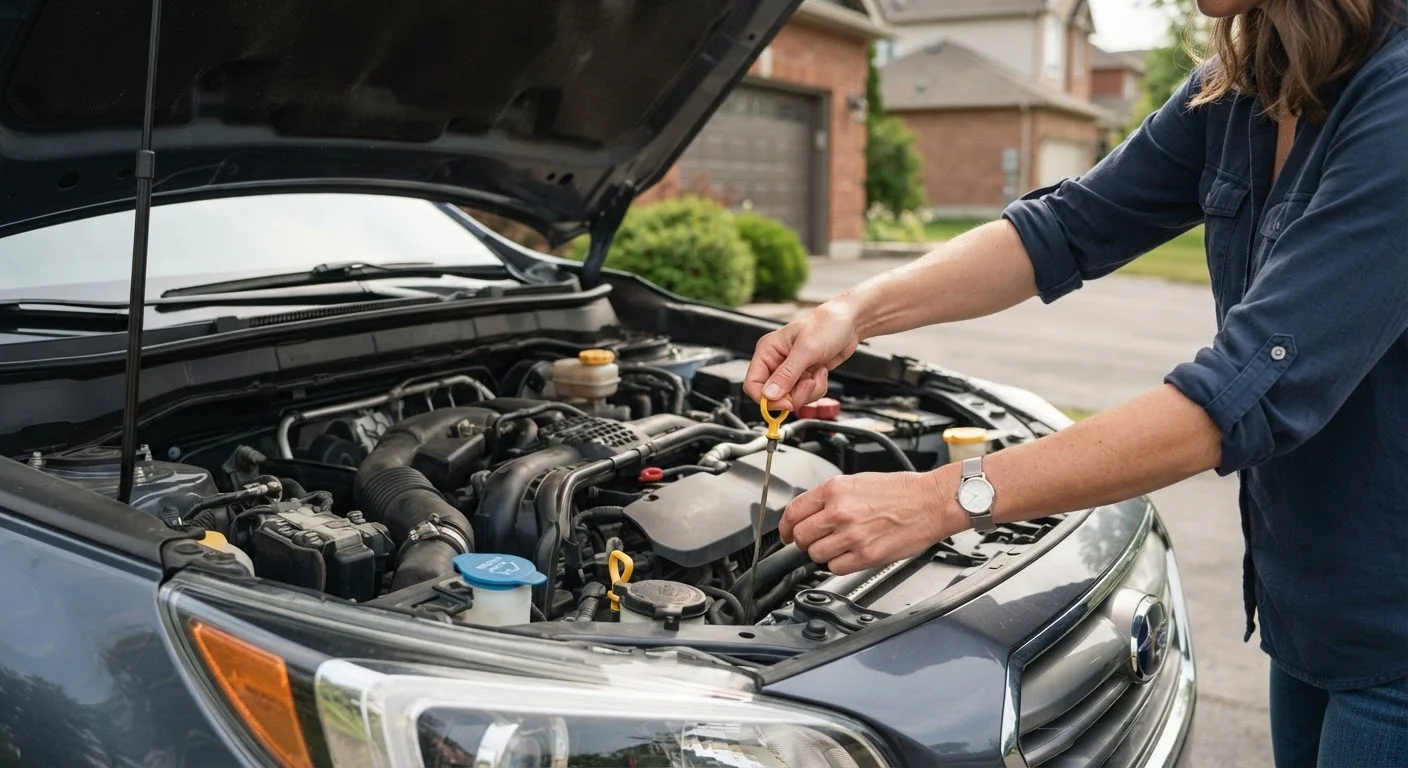
Locate the oil dipstick — typically a brightly colored handle near the center or side of the engine block. Pull it out, wipe it clean with your rag, reinsert it fully, then withdraw it again. The oil should sit between the two marks (MIN and MAX, or equivalent). Note the color: healthy oil ranges from amber to dark brown. Black, gritty, or milky oil suggests it needs changing or a deeper issue.
Inspect coolant (antifreeze) level
The coolant reservoir is a translucent plastic tank, usually near the radiator, with MIN and MAX lines visible from the outside — no cap removal needed for a level check. The fluid should sit between those lines. Coolant is typically green, orange, or pink depending on the formula. Never open the radiator cap or coolant reservoir cap on a hot engine; pressure can release scalding fluid.
Check brake fluid level
The brake fluid reservoir is a small translucent container near the back of the engine bay on the driver's side, mounted on the brake master cylinder. Check the level against the MIN and MAX markings on the outside without removing the cap. Brake fluid should appear clear to light yellow. A level near MIN is normal as brake pads wear — but a sudden drop can indicate a leak and should be evaluated by a mechanic.
Inspect power steering fluid (if applicable)
Many newer vehicles use electric power steering and have no fluid to check. If your car has hydraulic power steering, the reservoir — typically marked with a steering wheel icon — has either a dipstick integrated into the cap or external MIN/MAX markings. The fluid should be clear to slightly amber and within the acceptable range. Stiff or noisy steering can be an early sign of low fluid or a failing pump.
Top up windshield washer fluid
The washer fluid reservoir is clearly marked with a windshield/wiper icon and is usually blue. This is the only fluid you can safely top up without consulting your owner's manual for a specific formula — use a pre-mixed washer fluid rated for your climate. In freezing temperatures, use a fluid with adequate freeze protection. Do not substitute water, as it can freeze in lines and promote bacterial growth.
Consistently Low Fluid Warrants Attention
Topping up a fluid is a short-term measure. If any fluid is routinely low between checks, the vehicle may have a leak or an underlying mechanical problem. A qualified mechanic should inspect the system — do not rely on repeated top-ups as a permanent solution.
Use the Correct Fluid Specification
Using the wrong fluid type — for example, the wrong coolant formula or an incompatible brake fluid grade — can damage seals, degrade system performance, or create safety risks. Always verify the correct specification in your owner's manual before adding any fluid. If you're uncertain, consult a qualified mechanic rather than guessing.
What to Do If Something Looks Wrong
Discolored, cloudy, or consistently low fluid isn't just a top-up situation — it's information. Oil that looks milky suggests coolant contamination; coolant that's repeatedly low points to a leak; brake fluid near the minimum paired with no obvious pad wear can mean a system fault. These symptoms deserve a mechanic's eyes, not just a refill.
Understanding where the boundary sits between what you can confidently handle yourself and what requires professional attention is its own skill. The article DIY car maintenance vs. leaving it to a mechanic offers a clear-eyed breakdown of that line. For a broader picture of how fluid maintenance fits across a car's lifetime, see car maintenance across the full vehicle lifespan.
Regular fluid checks are a low-effort habit with meaningful returns — fewer surprises, longer component life, and greater confidence every time you get behind the wheel.
This article provides general vehicle maintenance information for educational purposes only. Always follow your vehicle manufacturer's specifications and consult a qualified mechanic for diagnosis or repair of any suspected mechanical issue.