

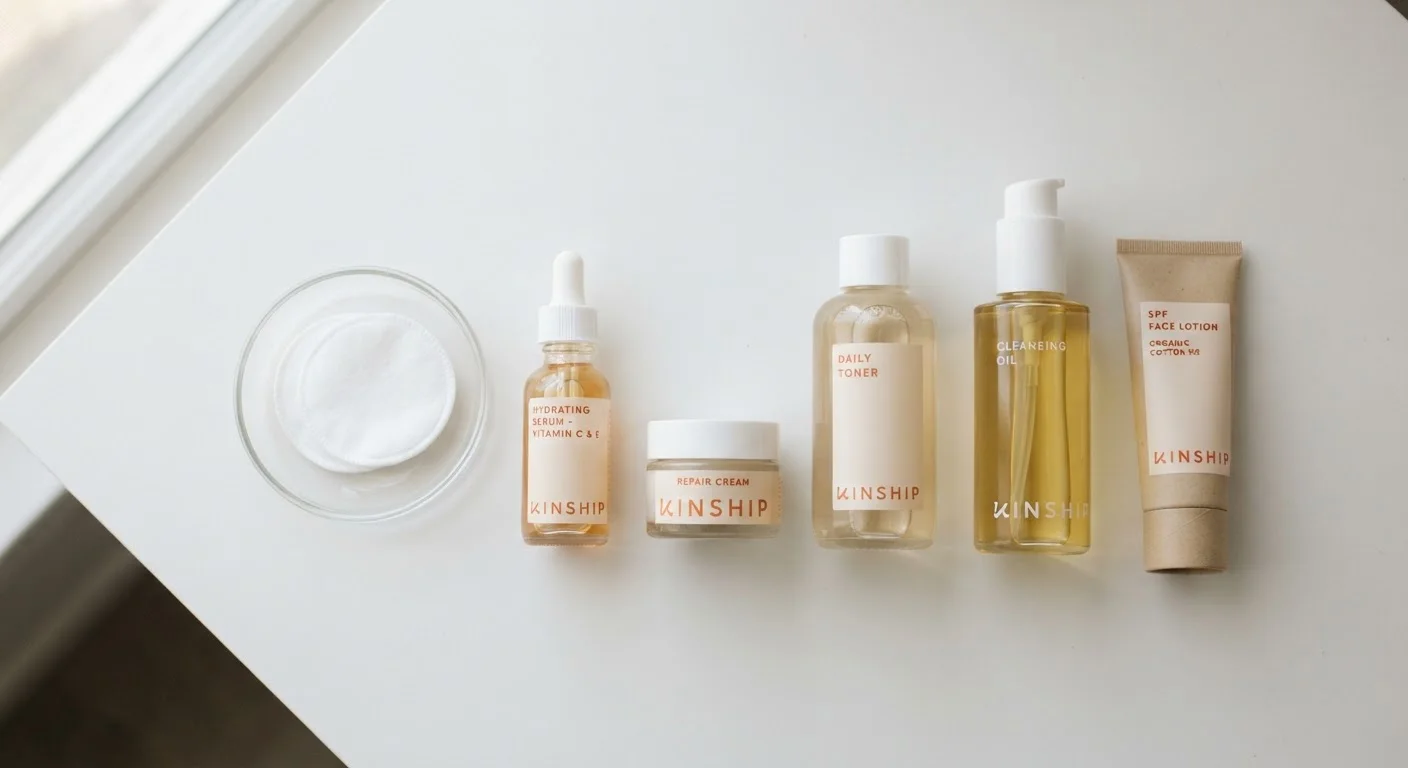
Key Takeaways
- Introducing one new product at a time makes it easier to pinpoint the cause of any reaction.
- Patch testing on a small skin area before full application reduces the risk of widespread irritation.
- Waiting 24–48 hours after a patch test before broader use gives your skin time to respond.
- Reading the ingredient list before you apply helps you flag known allergens or irritants in advance.
- Keeping a simple log of what you used and when makes troubleshooting far more reliable.
Summary
18 items · 20–40 minutes (plus 24–48 hours of observation time)
Why a Checklist Matters Before You Apply Anything New
Adding a new product to your routine can feel exciting, but skipping a structured introduction process is one of the most common reasons people struggle to understand why their skin reacted badly. When you introduce multiple products at once — or apply a new one immediately without testing — isolating the culprit becomes nearly impossible.
This checklist gives you a repeatable process for every new product, whether it's a serum, moisturizer, exfoliant, or treatment. It's especially useful if you're building a routine from scratch, since early missteps with untested products can discourage continued care. If you're already working with a more elaborate routine, it's worth reviewing the trade-offs that come with multi-step routines, particularly around cumulative irritation risk.
The goal isn't to slow you down — it's to give you better information so you can make smarter decisions going forward.
Ingredient lookup tool
Used to research individual ingredients for known irritants, allergens, and compatibility with other actives before applying a product.
Skin journal or notes app
Used to log daily skin observations, product use dates, and any reactions during the introduction period.
Cotton pads
Used to apply a controlled, small amount of product to the patch test site without cross-contamination.
Timer or phone calendar reminder
Used to track the 24–48 hour patch test window and daily check-in intervals accurately.
The Patch Test and Introduction Checklist
Work through these steps in order. Each phase builds on the last, and skipping ahead undermines the whole process. The time investment is small compared to managing a reaction that could have been avoided.
Before You Open the Product
Performing the Patch Test
First Full Application
Monitoring and Ongoing Introduction
Stop Use If You Notice These Signs
Mild redness that fades within an hour can sometimes occur with active ingredients. However, persistent burning, significant swelling, peeling, or hives are signals to stop use immediately and not reintroduce the product without consulting a dermatologist. Do not attempt to "push through" a reaction in the hope it will resolve — this can worsen skin damage.
This checklist is for general informational purposes only and is not a substitute for medical or dermatological advice. If you experience a severe reaction — including significant swelling, difficulty breathing, or widespread hives — discontinue use immediately and seek medical attention. Individuals with known allergies, skin conditions, or sensitivities should consult a qualified healthcare professional before introducing new skincare products.